John feels awful that he can’t make the conference call, but his daughter broke a tooth playing on a slide. He has to be with his child in the dentist’s office.
Does his company just have to accept that he won’t know what the call was about? Not with Yealink CP960.
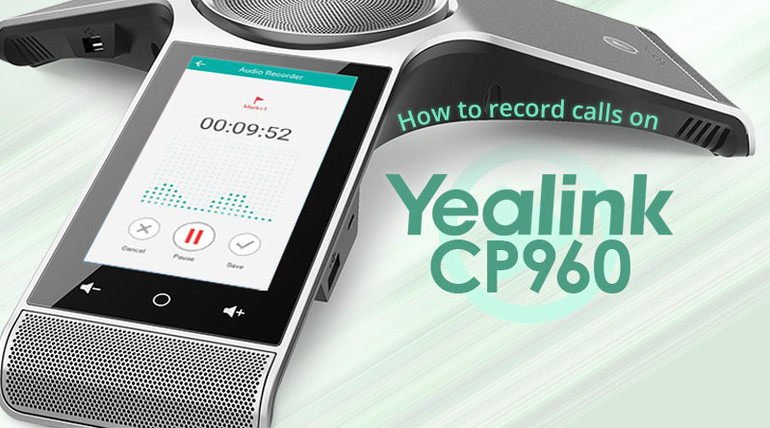
Yealink CP960 is an enterprise-class IP conference phone that makes recording conference calls easy. Featuring SIP interoperability, a familiar Android interface, and Yealink Optima HD and Noise Proof audio technology, CP960 is a stylish collaboration solution.
Sometimes you might want to record calls to keep people who couldn’t be there informed, like John. Or you might want to keep records of your calls, for security or legal purposes. Recorded calls can help with training and quality control.
Whatever the reason, CP960 makes it easy. It comes with call recording capabilities built-in. This is Yealink we’re talking about, so there are never licensing fees, and you have multiple options for how to do it. The phone also allows you to mark important moments in the conversation, so it’s easier to find your place when going back over the file.
You can record calls in two ways:
- Locally on the phone
- On an external USB flash drive
A friendly reminder: Many states require you to notify callers that they’re being recorded before starting to record them. Make sure you follow local laws when using the record call function on CP960.

How to Record Calls on Yealink CP960
Yealink CP960 comes with a call recording application pre-installed on the phone: Recorder. Recorder lets you record calls, play them back, manage them, rename them, move them, and so on.
The Recorder icon looks like this (with a gray background to help you see it better):

Open the app, select where you want to record, and tap the record button. That’s all there is to it!
The app will indicate how long the recording has been so far. You can pause and restart the recording at any time.
To end a recording, tap the Save checkmark button.
One really nice feature is that Recorder enables you to mark important moments in a conversation.
How do I mark places in the conversation?
Let’s say that you want to record the whole conference call for your records, but you also want to get right to the meat of the conversation when listening back.
Yealink provides a simple way to mark places in the conversation.
While recording, you’ll see a pennant flag icon with “Mark” underneath it. Tap that icon while recording, and you’ve marked your place! The app will indicate how many times you’ve marked by adding +_ (+1, +2, etc) to the word Mark.
Where are the files saved?
When you open the app, you can choose where you want the call to be recorded.
By default, CP960 records call to an internal 8GB flash card. You can also record directly to a USB stick.
How do I record a call using a USB stick?
Simply insert the USB stick into the USB slot on the right-hand side of the part of the phone with the touchscreen on it. It’s USB-A, the most common type of USB, if you were wondering.

When you launch Recorder, you’ll now have an option to record to USB. Select USB, then tap the red circle to start recording!
How long can a recorded call be?
You can save up to 12 hours of audio in a single file. (Now that’d be a very long conference!)
What format is audio saved in?
CP960 records audio in the common AMR format, so your player will need to support that format to playback the files when not using the CP960. AMR, or Adaptive Multi-Rate, is a highly efficient narrowband audio codec commonly used in mobile telephony.
What does a recorded call’s file look like?
Yealink automatically saves files in the following format:
record@20180322-102111
Decoded, this means that the call was recorded on March 22, 2018, starting at 10:21:11 am.
How do I rename a call?
You can rename any conversation. Just tap the three dots to the right side of the file name when looking at recorded calls. That’ll give you options for renaming files, moving them, or deleting them.
How do I listen to the recorded calls on the CP960?
In the Recorder app, you’ll find a list of all recorded calls, both local and (if one’s connected) on the USB stick.
Simply press the play button to the left of the file name. You can scrub quickly through the files. If you’ve marked places in the conversation, little red dots will be over the scrubber to guide you to the marked places.
How do I move recorded calls to a USB stick?
Let’s say you forgot your USB stick this morning, but you still want to record the call. Thankfully, there’s more than enough space on the CP960’s internal flash drive.
After you’ve retrieved your USB stick, you can plug it in, open the Recorder app, tap the three dots to the right of the file you want to move, and select Copy to USB. A “copy successful” message will display when copying is done.
If you want to move files in bulk, tap Edit in the top right-hand corner of the app. Then you’ll be able to select either individual files or all of them. Tap Copy to USB and you’re good to go!
You can then copy the files to anywhere else you want.

