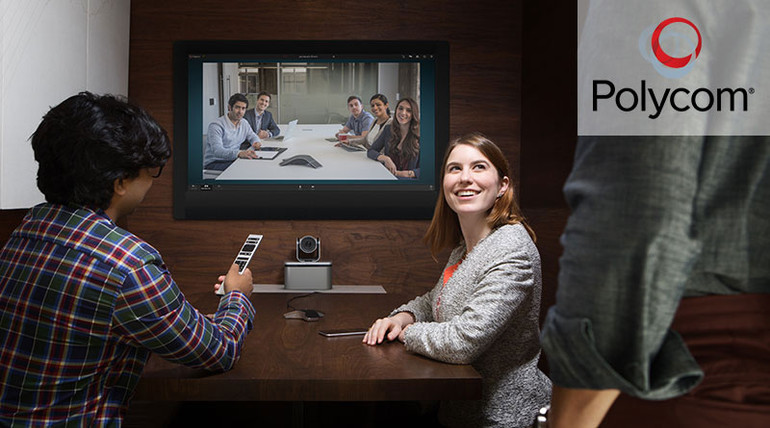
Polycom RealPresence Group 500 is an incredibly powerful video conferencing system that comes loaded with features for improving business communication. One side effect of this power, however, is that sometimes it’s difficult to see just how much you can actually do with the Group 500. That’s why we’re writing a mini-series of blogs on some useful functions of the Group 500 that you might be overlooking. Today, we’re talking about camera presets.
Camera presets save you time and effort. Set the camera properly once, and you won’t need to worry about zooming and tilting again.
Storing Camera Presets for Group 500
The Group 500 allows you to define up to ten camera presets for both the near camera (the one in the room with the Group 500 codec) or the far camera (the one you’re communicating with):
- Near camera presets are stored and can be easily accessed every time you turn on the system.
- Far camera presets only last for the duration of the conference session.
For the purposes of this blog, we’re going to explain how to work with camera presets for the Polycom RealPresence Group 500 using the Polycom RealPresence Touch, which is a capacitive tablet control for a Polycom Group system. You can also set them using the remote control.
Because the Polycom Group series features native integration with Microsoft Skype for Business, any preset you set will work for Skype for Business conferences, as well.
Camera presets for the Polycom Group 500 save camera, zoom and direction. The system comes with a neutral default camera preset, but this will likely not be ideal for your deployment.
Here’s how to set your own custom preset on the Touch device:
- Set the camera’s direction and zoom to fit the scene
- Tap Camera in the bottom row
- Then tap Presets
- Choose what number you want the preset to be saved as: 0 to 9 (0 is the system default)
- If you want, you can label the preset
- Then tap X
That’s it!

