

The office is changing.
Circumstances over the past year have forced businesses to evolve at an unprecedented rate. The office has gone virtual with people working from their respective homes sometimes entire states apart. With this change comes opportunity, and many businesses are discovering the benefits of a fully remote workforce.
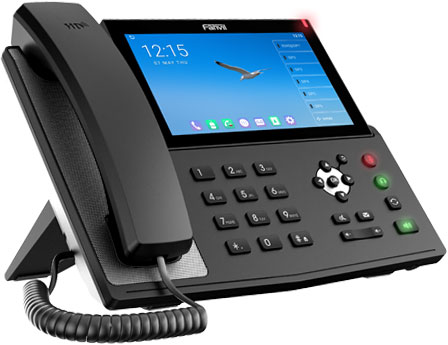
Fanvil offers a variety of VoIP phones that help businesses acclimate to the trend in remote work. The Fanvil X7A is ideally suited to the era of the remote office, offering HD audio and a wireless network connection.
While some VoIP phones are capable of wireless functionality, the Fanvil X7A stands apart in that it supports wireless network connectivity natively. There is no need for expensive add-ons, additional Wi-Fi dongles. Any employee can quickly and easily set the X7A up in their home office in just a few easy steps.
How to Connect Fanvil X7A to a Wireless Network
Here is how to connect the Fanvil X7A to Wi-Fi in three simple steps:
Step 1: When the X7A is in its default standby mode, select the application button on the digital display.
Step 2: From there, select the settings application. Enter the Network & Internet menu and select Wi-Fi.
Step 3: Once the Wi-Fi is enabled, select the network you want to connect the phone to and enter the password.
It really is just that simple. The Fanvil X7A makes setting up a remote workforce easier then ever thanks to its user-friendly interface and no hassle design.
See the Fanvil X7A User Guide [PDF] for additional information on how to setup and use the phone.