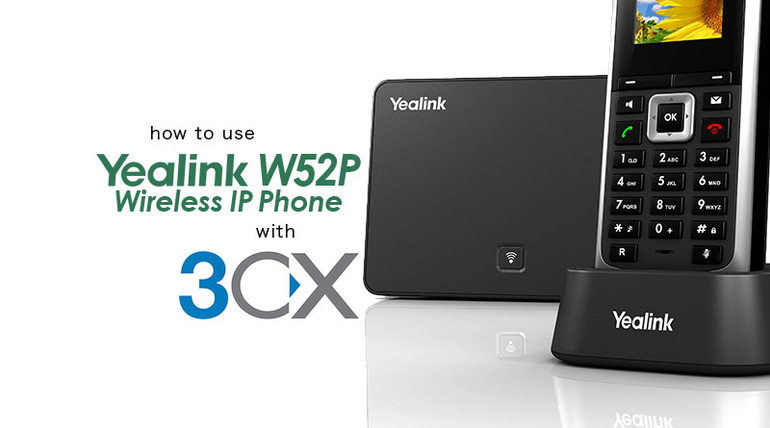
Yealink W52P combines the convenience of a traditional cordless telephone with the deep network integration, excellent audio quality, and extensive feature-set of a Yealink VoIP phone. And it’s simple to use through your 3CX software IP PBX platform!
Yealink has partnered with 3CX to provide seamless integration between Yealink phones and the powerful 3CX VoIP platform.
A little clarification. Yealink W52P comprises a base station and a W52H wireless handset. The W52H handset communicates with the base station using the stable, secure DECT protocol. The base station connects to your network using SIP. So it’s the base station that connects directly with 3CX, not the handset.
In this blog, we’re going to run explain how to connect the Yealink W52P base station to 3CX v15, so you get amazing VoIP telephony with your cordless phone.

How to Use Yealink W52P with 3CX
It’s simple to connect a Yealink W52P to 3CX.
Initial preparation of Yealink devices
Make sure you have these minimum firmware versions on the Yealink hardware:
- Base station: 25.81.0.10
- Handset: 26.73.0.30
You can find the most recent firmware on Yealink’s support site.
If the Yealink hardware has been used for other purposes, you’ll need to factory reset it. If your hardware is brand-new, you can skip down to “Provisioning Yealink W52P base station.”
Factory restart for Yealink W52P base station
- Turn off base station
- Press and hold Connect button
- Turn on base station while pressing Connect button
- Wait until the three LEDs lights stop blinking and are solidly on
Factory restart for Yealink W52H handset
With the handset, you need to de-register the handset and then reset the settings.
- With handset on, press OK button
- Go to Settings > Registration > De-reg Handset
- Enter PIN 0000 (four zeroes)
- Press Select > Yes — your registration has been deleted
- Then press OK button
- Go to Setting > System Settings > Handset Reset > OK
- Press Enter and enter PIN 0000 (four zeroes)
- Press Yes
Your hardware is now ready to be provisioned.

Configuring Yealink W52P in 3CX Management Console
This is how to configure your Yealink W52P base station with 3CX if you’re using a local LAN. For other network arrangements, we recommend you visit 3CX’s website. They have extensive documentation and an active user forum.
Go to the 3CX Management Console.
- Go to FXS/DECT
- Click Add FXS/DECT
- Select Yealink under “Select brand”
- Select Yealink W52P under “Select model/device”
- Enter base station’s MAC Address
- Press OK
Now you have to enter some details.
- Give the device a name
- Select Local LAN (in the office) under “Provisioning method”
- Under “Provisioning link” enter the following, replacing MACADDRESS with the device’s MAC address
http://192.168.179.42:5000/provisioning/xmu9s8mb39m4c/MACADDRESS.cfg
- Copy and save that link
- Enter base station’s MAC Address under “MAC address”
- Select 192.168.179.42 under “Select interface”
- Then enter the appropriate language and time zone information
- Under “Device web page password” enter a secure password
Then go to the Extensions tab and assign an extension.
You’ve done everything on the 3CX for a basic configuration!
Entering 3CX info into Yealink W52P web interface
This is even simpler.
- In your web browser, enter the IP address for the Yealink base station
- Go to Settings > Auto Provision
- Under “Server URL” enter the long URL you saved up above
- Press Confirm
- Press Autoprovision Now
And you should be good to go!

